
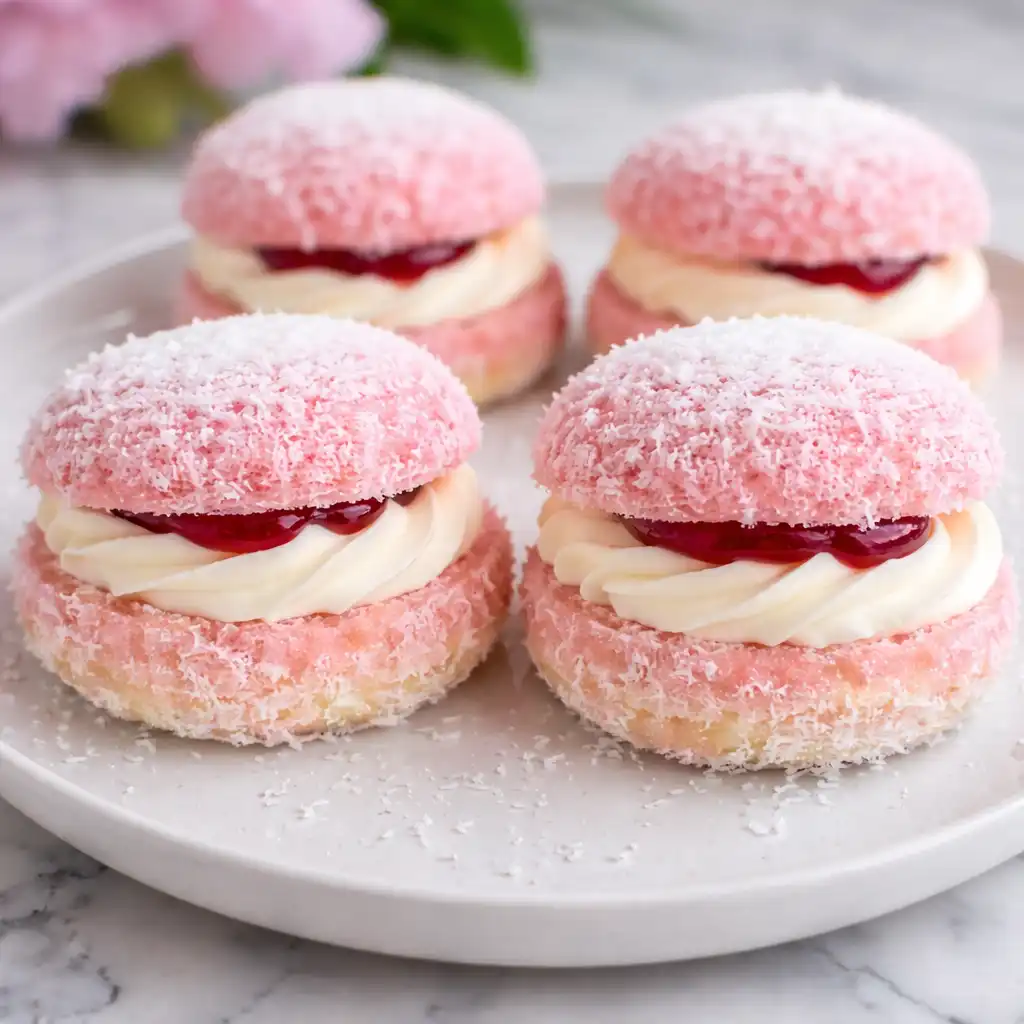
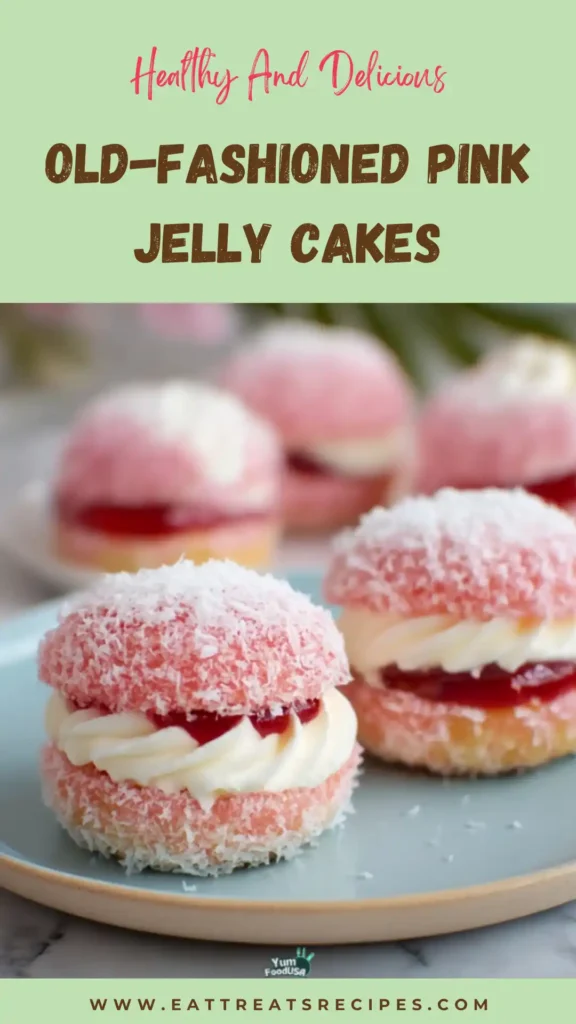
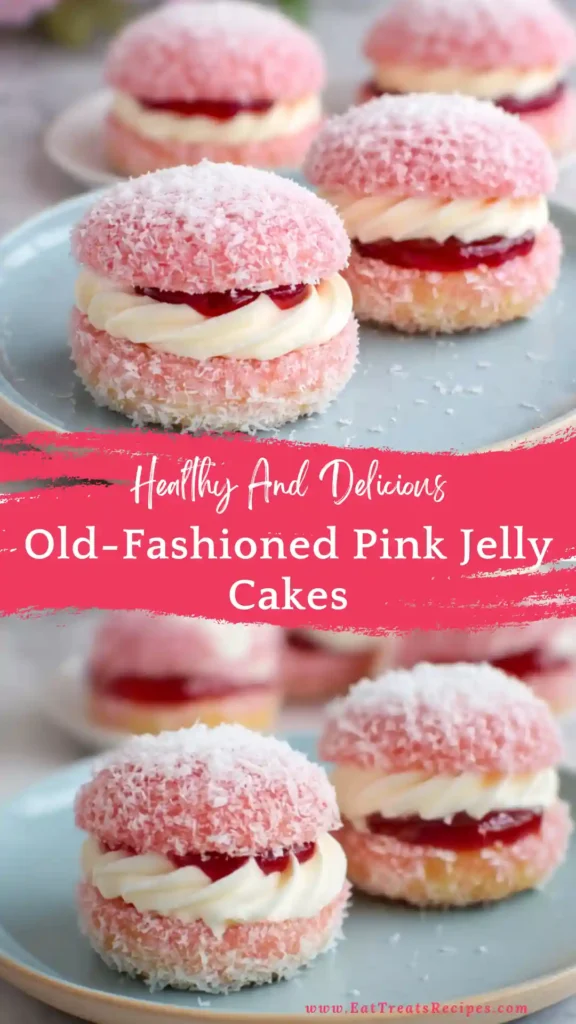
There’s something deeply comforting about desserts that instantly take you back in time and these Old-Fashioned Pink Jelly Cakes do exactly that. Soft, fluffy sponge cakes dipped in a glossy pink jelly and coated in delicate coconut, then filled with smooth cream… every bite feels like a warm memory from childhood parties, afternoon teas, or cozy family gatherings. These cakes are not just beautiful they’re emotional. Their pastel pink color makes them instantly eye-catching, while their soft texture and sweet flavor create a nostalgic experience that’s hard to resist. Best of all, this recipe transforms simple ingredients into a bakery-style treat that looks impressive but is surprisingly easy to make at home.
Why This Recipe Is Going Viral Right Now
Vintage desserts are making a powerful comeback and Old-Fashioned Pink Jelly Cakes are leading the trend across Pinterest and Google Discover.
Here’s why they’re everywhere right now:
- Nostalgia-driven recipes are trending – people crave comfort and memories
- Pastel desserts perform extremely well visually – especially pink tones
- Simple but elegant recipes are dominating search intent
- Shareable desserts = higher engagement on Pinterest
But beyond trends, these cakes offer something deeper: they combine emotional storytelling with visual beauty. That’s exactly what modern food content needs to go viral.
👉 In short:
These cakes are not just a recipe they’re an experience.
What Is Old-Fashioned Pink Jelly Cakes / Why It’s Special
Old-Fashioned Pink Jelly Cakes are soft sponge cakes coated in a fruit-flavored jelly—typically raspberry or strawberry—then rolled in coconut and often filled with whipped cream.
They are similar to lamingtons, but lighter, softer, and more delicate.
What makes them unique:
- Multi-layer texture → soft sponge + jelly coating + coconut + cream
- Balanced sweetness → not overly sugary
- Vintage appeal → rooted in traditional baking
- Highly customizable → fillings, colors, flavors
Unlike modern desserts that rely heavily on richness, these cakes are all about balance, texture, and presentation.
Ingredients You’ll Need
For the Sponge Cake
- 1/2 cup butter (softened)
- 1 cup sugar
- 2 eggs
- 1 1/2 cups flour
- 1/2 cup milk
- 1 tsp vanilla extract
- 1 tsp baking powder
For the Jelly Coating
- 1 packet raspberry or strawberry jelly
- 1 1/2 cups hot water
For the Filling
- 1 cup heavy whipping cream
- 2 tbsp powdered sugar
For the Coating
- 2 cups desiccated coconut
💡 Pro Ingredient Tips:
- Use high-quality vanilla for better flavor depth
- Choose vibrant jelly for stronger visual appeal
- Use fine coconut for smoother coating
Step-by-Step Instructions
Step 1 — Prepare the Sponge Batter
Start by creaming the butter and sugar until light and fluffy. This step is essential—it creates the air structure that gives your sponge its softness.
Add eggs one at a time, mixing well after each addition.
Then gently fold in flour, baking powder, milk, and vanilla.
👉 The goal: a smooth, light batter—not overmixed.
Step 2 — Bake the Cakes
Pour the batter into small molds or a lined baking tray.
Bake at 350°F (175°C) for 18–22 minutes or until lightly golden.
Let them cool completely before handling.
👉 Warm cakes will break during dipping.
Step 3 — Prepare the Jelly
Dissolve the jelly in hot water and let it cool slightly.
⚠️ This is critical:
- Too hot → melts sponge
- Too cold → won’t coat properly
👉 Ideal texture = slightly thick but still liquid
Step 4 — Dip the Cakes
Using a fork or skewer, dip each cake into the jelly.
Ensure it is fully coated but not soaked.
Step 5 — Roll in Coconut
Immediately roll each jelly-coated cake in coconut.
This creates that classic soft, textured exterior.
Step 6 — Fill with Cream
Slice cakes in half and fill with whipped cream.

Common Mistakes to Avoid
Even though this recipe is simple, small mistakes can ruin the result.
1. Jelly Too Thin
→ Causes soggy cakes
2. Jelly Too Thick
→ Won’t coat evenly
3. Overbaking the Sponge
→ Leads to dry texture
4. Filling Too Early
→ Cream melts or leaks
5. Skipping Cooling Step
→ Cakes break apart
👉 Precision matters more than complexity here.
Tips / Variations / Why You’ll Love It
Pro Tips
- Chill cakes before dipping → easier handling
- Use piping bag → cleaner filling
- Work in batches → better consistency
Variations
- Chocolate version → use cocoa sponge
- Mini version → bite-sized party treats
- Vegan version → plant-based cream
Why You’ll Love It
- nostalgic and comforting
- visually stunning
- perfect for events and parties
- surprisingly easy to make
Texture & Flavor Science
The magic of Old-Fashioned Pink Jelly Cakes comes from controlled absorption and contrast.
Here’s what happens:
- Sponge absorbs jelly → adds moisture
- Coconut prevents sogginess → creates barrier
- Cream balances sweetness → adds richness
👉 This creates a perfectly balanced bite:
- soft
- moist
- slightly chewy
- creamy
Jelly Absorption Control System
This is where most recipes fail—and where you win.
Key Principle: Controlled Absorption
If the sponge absorbs too much liquid → it collapses
If it absorbs too little → it tastes dry
Perfect Method
- dip quickly (1–2 seconds max)
- let excess drip
- coat immediately
👉 This ensures:
✔ perfect moisture
✔ clean structure
✔ professional result
Flavor Balance System
To avoid overly sweet desserts, this recipe uses layered flavor balancing:
- sponge → mild sweetness
- jelly → fruity brightness
- cream → smooth richness
- coconut → neutral texture
👉 Result:
A dessert that feels indulgent but not heavy.
Visual Presentation Strategy
These cakes are naturally viral—but presentation matters.
For Pinterest-Level Results
- Use bright lighting
- Keep background white or marble
- Focus on pink contrast
- Arrange in clean rows
👉 This transforms your recipe into a click magnet.
Meal Prep & Storage Optimization
These cakes are great for planning ahead.
Storage
- Fridge → 2–3 days
- Best eaten → same day
Freezing
- freeze sponge only
- add jelly + cream later
Make-Ahead Strategy
- bake cakes day before
- assemble same day
FAQs
Can I make Old-Fashioned Pink Jelly Cakes ahead of time?
Yes, but for the best texture, it’s recommended to assemble them the same day you plan to serve them. You can bake the sponge cakes a day in advance and store them in an airtight container. Then dip, coat, and fill them just before serving to maintain the perfect balance of softness and structure.
What is the best jelly flavor to use?
Raspberry and strawberry are the most traditional options for Old-Fashioned Pink Jelly Cakes. They provide the signature pink color and a sweet, fruity taste that pairs perfectly with the sponge and cream. However, you can experiment with cherry or even passionfruit for a modern twist.
Why are my jelly cakes soggy?
This usually happens when the jelly mixture is too thin or too warm. The key is to let the jelly cool slightly until it thickens just enough to coat the cake without soaking into it too quickly. A quick dip (1–2 seconds) is ideal.
Can I freeze these cakes?
Yes—but only partially. You can freeze the sponge cakes before adding jelly and cream. Once assembled, freezing is not recommended because the texture of the cream and jelly may change.
How do I keep the coconut coating from falling off?
The coconut sticks best when the jelly coating is still slightly wet but not dripping. Roll the cakes immediately after dipping to ensure an even, secure coating.
Are these cakes similar to lamingtons?
Yes, but they are softer, lighter, and more delicate. Lamingtons typically use chocolate coating, while Old-Fashioned Pink Jelly Cakes use fruity jelly and often include cream filling.
Can I make a healthier version?
Absolutely. You can reduce sugar in the sponge, use low-fat cream, or substitute with Greek yogurt filling for a lighter version while keeping the same texture experience.
Conclusion
There’s a reason Old-Fashioned Pink Jelly Cakes have stood the test of time. They’re more than just a dessert—they’re a beautiful combination of nostalgia, texture, and simple ingredients that come together to create something truly special. From the soft sponge to the glossy jelly coating and the delicate coconut finish, every bite delivers comfort and elegance at the same time.
Whether you’re making them for a special occasion, a cozy afternoon treat, or simply to relive a childhood favorite, this recipe proves that the simplest desserts often leave the biggest impression.